Showing posts with label wreath. Show all posts

March 5, 2012

Spring wreath.

If you know me or have spent any amount of time browsing through Suite Revival, you'll know that I like things simple. And there really isn't anything more simple that this Spring wreath...
I picked up the plant covered "R" and branch wreath at my new favorite store - Hobby Lobby!!
The "R" came on a little ribbon so I just shortened it bit and then hung it and the wreath on a command hook.
The total cost was just $8!

Quick and easy! And perfect for Spring :-)

February 10, 2012

Heart shaped tissue paper wreath.

I know that Valentine's Day (also my birthday!!!) is just 4 days away, but it's never too late for a holiday themed wreath!!

I was itching for something new on my front door and figured I could make a really simple one for Valentine's Day! I contemplated making a pretty felt one out of rosettes but the idea of cutting a bunch of spirals and rolling and hot gluing was not something I felt like doing, ESPECIALLY, if I only get to enjoy this for 4 or so days.

So I headed over to Michael's and picked up this heart shaped cardboard like form for about $3 and I got some light and dark pink tissue paper from Party City also for $3.
I cut the tissue paper into strips about 4 to 5 inches wide and them started wrapping them into themselves and just taped the end so it didn't unravel. For larger rosettes, I used three sheets of tissue paper and for the smaller ones, I used either one or two sheets.
 I wrapped the form with a layer of tissue paper in case I had any gaps (which I do!) and then just taped on the rosettes.  Easy peasy.
I checked the weather forecast and we might get a little rain on Valentine's Day (yay...I love the rain!), so I'll have to bring this little gal inside because she is clearly not waterproof! But that's a small price to pay for a $6 project :-)

**I'm linked up to The Shabby Nest, Happy Hour Projects, A Bowl Full of Lemons, and Nutmeg Place**

December 8, 2011

The weather outside is frightful...

Oh who am I kidding?? I live in Southern California! The weather is hardly frightful...it's sunny and 61 degrees outside as I type this. Although in my defense, it has been pretty cold in the mornings and evenings... down into the 40's!! Brrr!

But I digress! Moving on to the point of this post...I finally decorated for Christmas! I am definitely a minimalist when it comes to Christmas decor but I love the little bits of extra sparkle and twinkling lights that make their way into my home this time of year!
I have a small four foot artificial Christmas tree that's decorated with mini disco balls...
Sparkly snowflakes...
And matte (and shiny) purple ornaments.
I also picked up a cute little tree skirt from Target that was perfect for my tree!
These little red trees adorn my dresser...
And my favorite owl sits watch.
I found this silver tree at Sears in the after Christmas clearance a few years ago! If I remember correctly, it was something like $2!
I found this bit of greenery at Kohl's in their after Christmas clearance (by far my favorite part of the after Christmas sales!) for a few dollars...

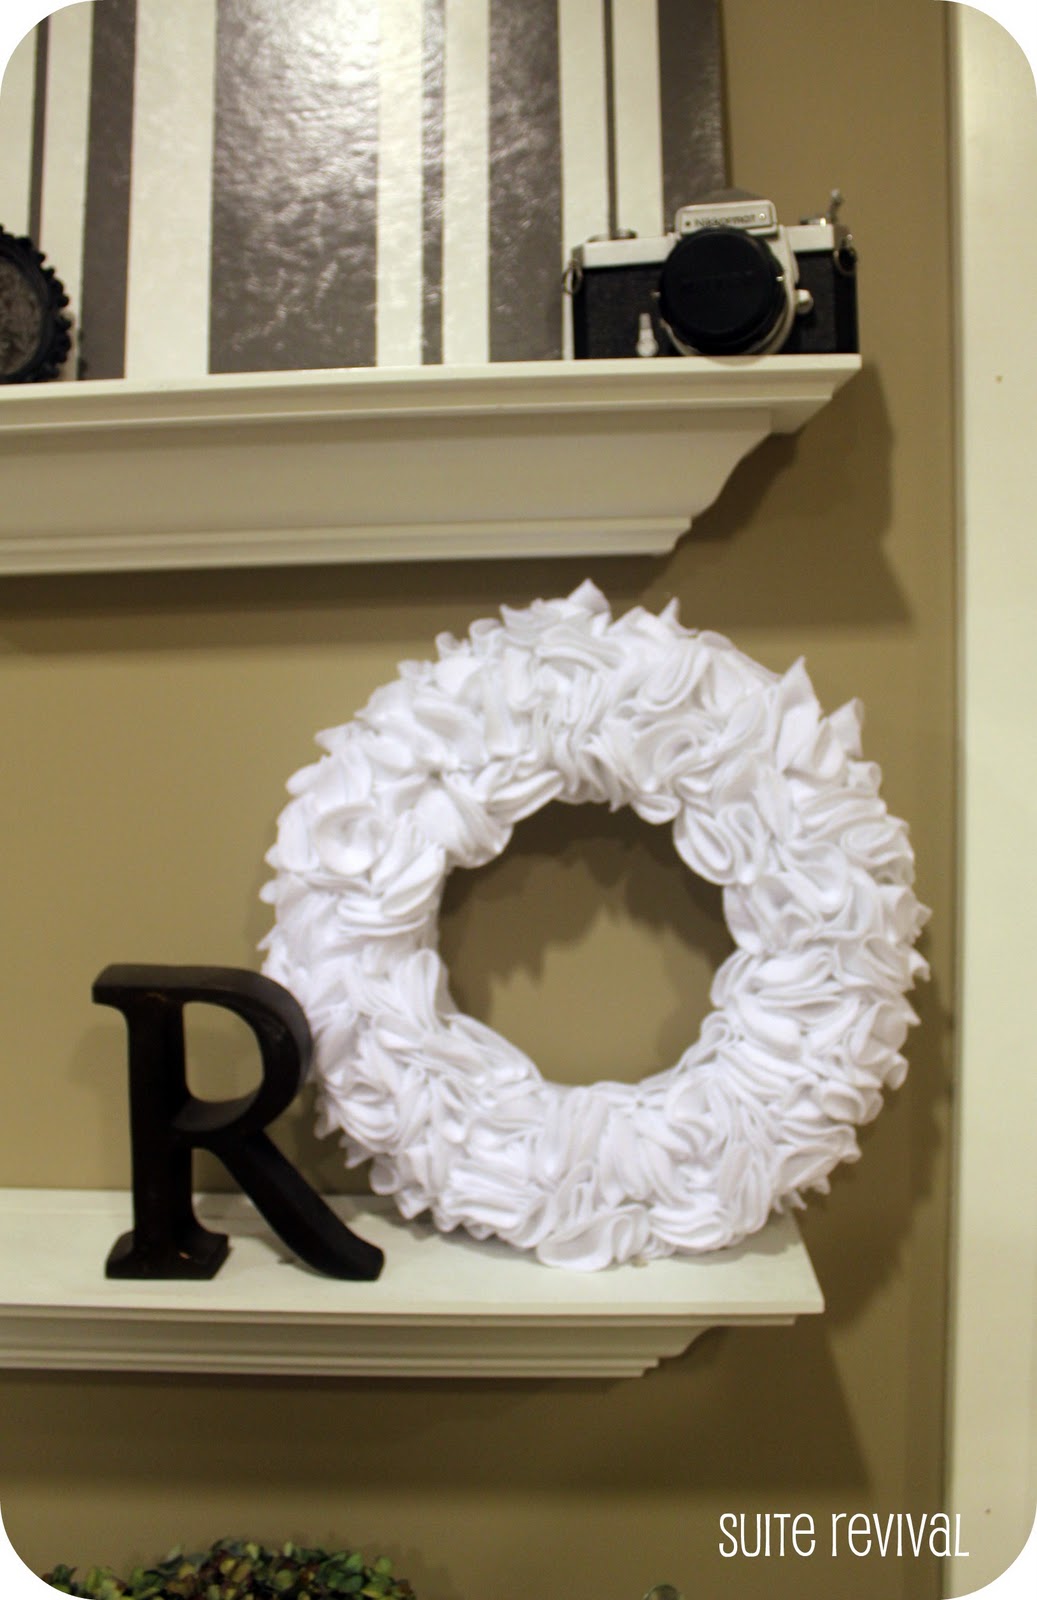
And I was happily surprised to find my white felt wreath that I made last year tucked away in my Christmas stuff! I was wondering if I had misplaced it or if it accidentally got packed away into storage when I moved! But it didn't! This was one of my first crafts which I blogged about it here.
This was definitely a time consuming wreath, but I think it was worth it!
This is my first Christmas in my new place and I didn't decorate with nearly all the things I use to decorate with! I have less space, therefore less decorations! Yay for simplicity!

But I am glad to finally check decorating off my list (I normally decorate the day after Christmas, but I was in Hawaii!) and just enjoy the rest of the month!

Merry Christmas!!

November 4, 2011

Rosette making.

About a month ago, I hadn't the slightest idea of how to make rosettes. But thanks to a quick tutorial by a friend and an even quicker glance online, I realized just how easy they were to make! So I thought I'd share a quick tutorial on how I made the rosettes used for my felt rosette wreath.

I didn't want to waste a lot of felt so I made two different sizes and placed them alternately around the form. The larger rosette was made out of the inner part of the felt and the outside gave me the smaller one.

But here you...your guide to quick and easy felt rosettes:
1. Get a square piece of felt.
2. Starting at a corner, cut about an inch or so into the square making sure the edges are rounded. I've seen others cut more of a circle, but I didn't see the need. I then rounded edges of the outer piece so I could make two rosettes out of one piece of felt.
3. Take the large circle/square and begin cutting it into a spiral. You can just eyeball it, an imperfection here and there never hurt anyone :-)
4. Now that the felt is cut, it's time to start making them! Take one strand of felt and begin wrapping it into itself and then keep wrapping until you have your rosette.
5. Take a bit of glue (I used hot glue) to secure the end.
6. Admire your creation!

Easy right? It seems so simple to me know, but hopefully this will help someone who just needed to see how it's done!
Until next time...